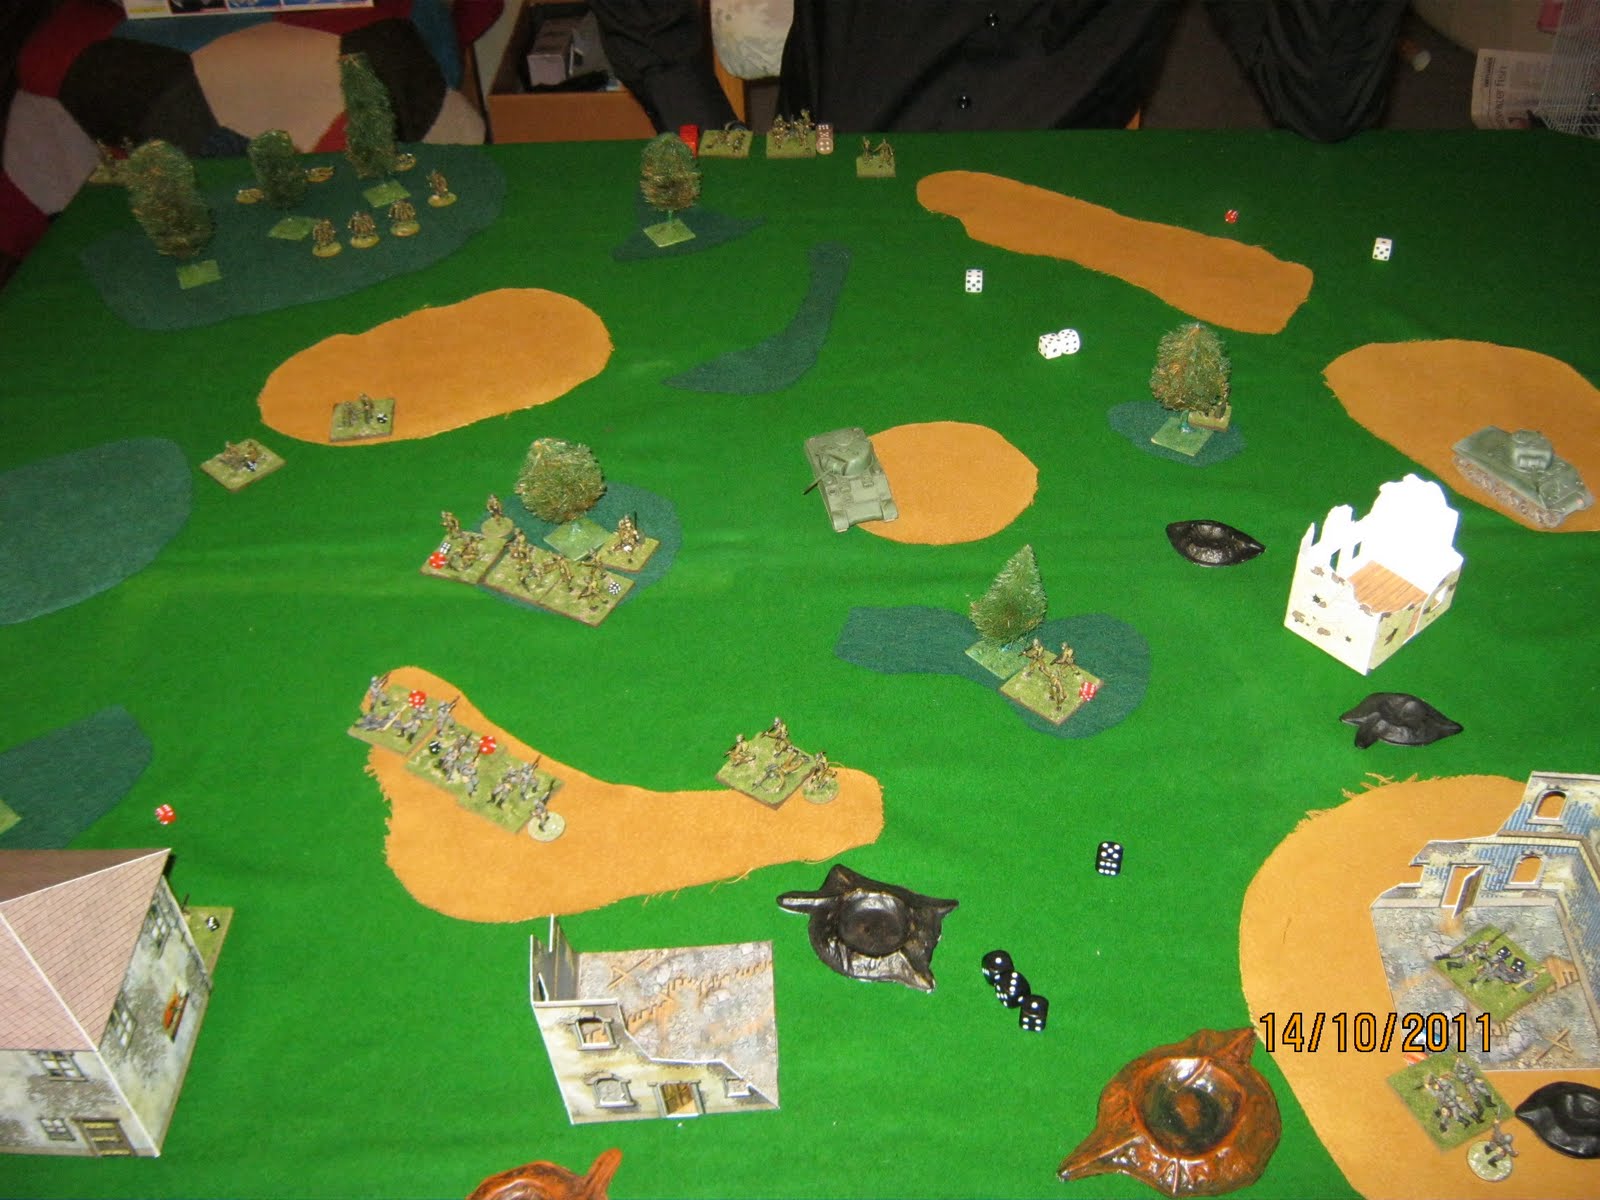
...attack and defense.
Good evening,
Just finished a game with my mate Mark, a Crossfire newbie. So, thought I, lets have an attack/defense scenario. Bit like
this, but without the minefields and infantry gun. 'Cause I'm not sure how they work...
The set up. Town to the East, Kiwis coming in from the west.
 Kiwis
KiwisOne Infantry Company with...
- 1 - CC (+2)
- 1 - 3" Mortar
- 1 - 2" Mortar
- 2 - HMG
- 3 - Rifle Platoons, each with
With the support of two Shermans.
Which, now looking at the Army Organisation Lists seems a little generous...
GermansOne understrength Infantry Company with...
- 1 - CC (+2)
- 1 - 81mm Mortar
- 2 - HMGs
- 2 - Rifle Platoons, each with
With the support of one Panzer IV-G
Umm, I'm pretty sure you can guess the outcome just by crunching the numbers...
Anyway, as I was trying out hidden deployment, Mark advanced the Kiwis, up until I decided to pop up and try my luck.
Three no fires, first dice of the game! Oh bother.

So Mark continues his advance, 'till, somehow, the initiative passed to me. (No fire result for a group fire, I think it was). Right, time for some action. I pop the Pz IV around from behind the rise to try to take a shot at one of the Shermans, but...

...the Sherman reacted first. Into the flank armour of the Pz. Stink! (Gotta make me some sort of smoking, flaming, busted tank marker to go atop where the turret gets pulled off...)
Mark continues to advance, pinning and suppressing two of the three squads of the platoon on the flank.


Initiative finally passes back to me, so I bring out one of my HMGs. It survives reactive fire...only go to no fire the first time it throws dice!

In the meantime, I manage to pick off a squad that had been suppressed in the open during the advance, managed to be rallied, carried on advancing only to get cut down during the same initiative through German reactive fire from the hill!

I advance my remaining squad up to the crest of the rise in front of the town. Again, only to suffer no fires, and at best a pin, while the Shermans come rolling forward. (With my Panzerfaust squads either suppressed or out of LOS...)

From the centre, Mark sends forward a squad, with PC, to assault the completely ineffective and [by now] suppressed HMG. The results were a forgone conclusion.


To the north, Mark finally suppressed the exposed German FO. Finally. Like, he'd been shooting at it with all he had for most of the game so far!

On the other flank, my remaining HMG, which was actually in the building (but wouldn't sit on the roof), gets gunned down by their Kiwi counterparts on the hill across from them.


With the inevitable demise of my FO, I decided to bring my mortar crew into LOS - only to have it suppressed by reactive fire from the rise!

To the north, Mark assaults the suppressed squad in the building, while the pinned squad behind it manages to at least pin one of the Kiwi squads as it pops around the edge of the building (that't what those little black dice are - one denotes the squad is pinned, two that they are suppressed).


One assault won, they carry on to assault the second German squad. With more success!

More success!

And so, they carry on into the isolated PC. Who manages to fight them to a stand still!

As that was an example of a squad not managing to do what they set out to, we decided that the initiative passed back to me, so I opened fire in the centre, with some success. Down goes one Kiwi squad, at the cost of a no fire...

...so I try again. Again, another no fire, but this time for no payback.

At this point, I conceded the game.

Still, Mark enjoyed it, which was the whole point of the game. Now to find out how minefields and infantry guns work...
Nick